ADA Revolution: Ensuring Access and Mobility for People of All Abilities
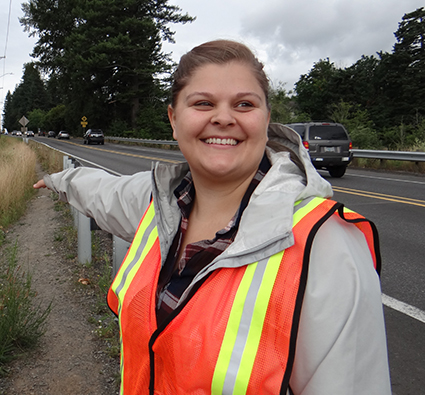
The City of Portland will construct and/or upgrade 1500 curb ramps per year for the next twelve years for a total of 18,000 ramps. As ADA experts having completed assessment and/or design of over 8,000 ADA ramps since 2005, Emerio is currently a subconsultant on two projects in conjunction with this Curb Ramp Replacement Program which will include design of an additional 1,000 curb ramps within the next 5 years. We are proud to help ensure access and mobility for people of all abilities. Having assessed and designed 275 ramps in her career, Jr. Civil Designer Jennifer Parry, EIT is leading one of Emerio’s three ADA teams and discusses the ins and outs of this important job.
Q: What is a typical day like in the field?
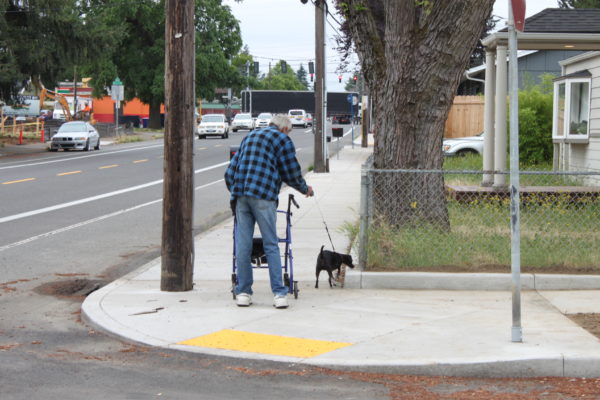
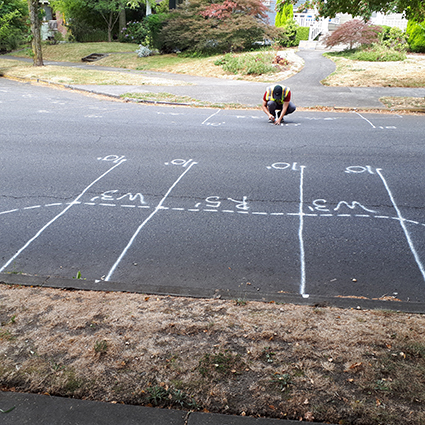
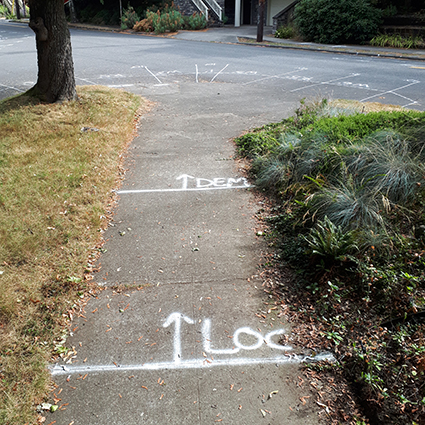
JP: A typical day in the field starts by meeting at a specific ramp in Portland which will start the predetermined route for ramps that day. We begin by calibrating the levels then start measuring and assessing ramps by drawing notes on the concrete and then inputting the data into the iPad. This continues for the remainder of the day. The field crew cleans and measures each individual ramp. High traffic ramps with pedestrians or nearby vehicular traffic can take longer to complete. We cannot shut the ramp down to take the measurements so we must move out of the way when pedestrians need to walk through. Dirty or overgrown weeds can also make assessing a ramp difficult and they typically require more prep time.
Q: How do you know which ramps to assess?
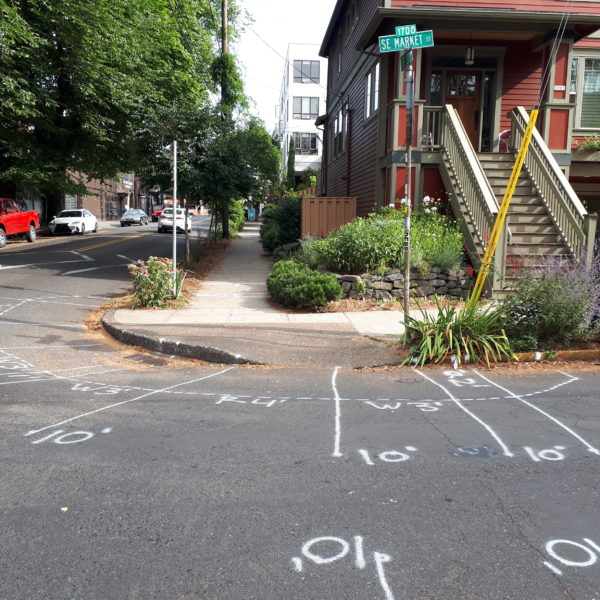
JP: We use an iPad with an ArcGIS app and Survey 123 to locate and store the information about the ramps. The ArcGIS shows a map with dots all over Portland. These dots represent the ramps which require survey assessments. We are assigned a specific quadrant within Portland to assess ramps and we start by looking at the dots within that quadrant then creating a route of ramps for the specific day. As we alternate field crews, the field leaders coordinate where one team left off and where the next team will start.
Q: How many crew members are on each field team and what are their roles?
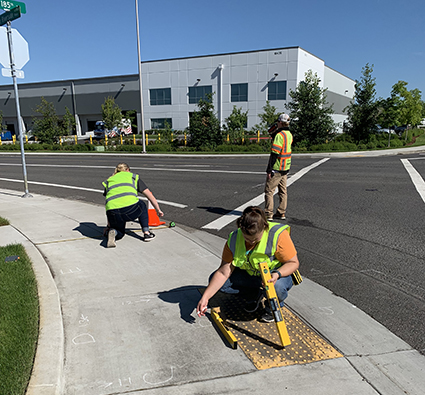
JP: Typically, we have 2-3 people on a field team. One person is the field leader who coordinates the ramp locations and is the final say on all ramp related questions or analysis. This person begins surveys, takes slope measurements, and back-checks all inputted data. The other 1-2 people on the team clean the ramps and take length measurements. They input the data into the iPad as the field leader is finishing slope measurements.
Q: What tools do you need and why?
JP: We take a shovel, broom, traffic cones, measuring tapes, levels, soapstone, and the iPad with us in the field. The measuring tapes are used to measure the length of specific joints required for the assessment and the soapstone is used to write the measurements on the concrete. We take a variety of levels but the 4 ft is the default level and is always used unless the level cannot be laid flat along the joint. Then a smaller level is used to achieve a more accurate measurement and noted in the survey where a smaller level is used. Finally the iPad is used to locate ramps and input all the data for each ramp assessment.
Q: What causes an existing ramp to be non-compliant?
JP: Any item which does not follow ADA regulations causes a ramp to be non-compliant whether it is small or large. The most common items are the landing or ramp slopes, width of the ramp, tactile panel and pedestrian push buttons. Lips are quite common on these ramps which also can cause a ramp to be non-compliant. On steep hilled areas, the algebraic difference between the ramp and street or flares and street typically cause the ramps to be non-compliant also.
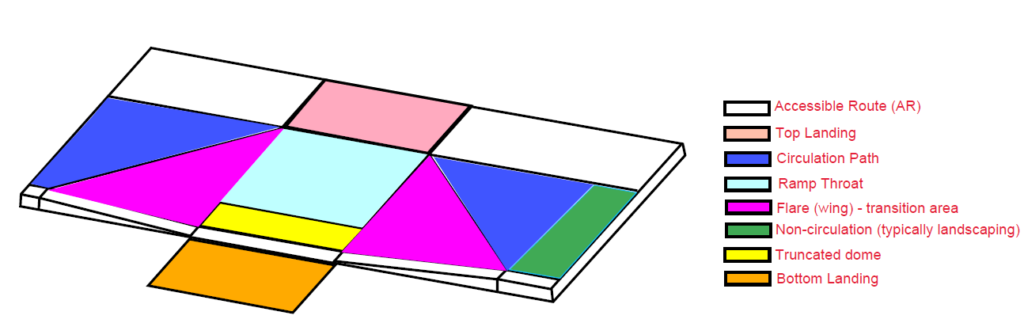
| Element | Compliance |
|---|---|
| Bottom landing | Min 4’x4’ square, Max slope of 2% in any direction |
| Ramp throat | Min width 4’, Max slope 8.3%, vertical separation Max 0.25″ |
| Pedestrian push button | Within 10” of landing |
Q: How do you begin approaching design for ramps that failed or for new ramps?
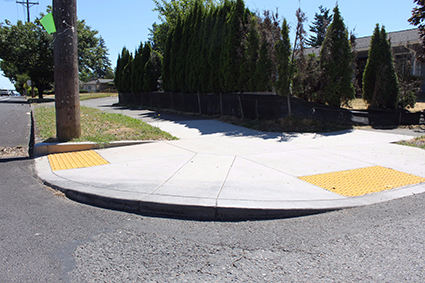
JP: The first step in designing a ramp is to look at the existing conditions both in a site visit and creating a profile of the existing curb line. This allows us to see the parts of the ramp that are going to be difficult to adjust whether through existing features, power poles or hydrants, or existing grades. From here we begin adjusting the flow line and laying out the ramps. Then we grade the ramp to meet the specific ADA slope design requirements. This is an iterative process where things are adjusted as grading does not work, so layout may shift as things are being graded.
Q: What makes a ramp difficult to design?
JP: Multiple things can make a ramp difficult to design. Frequently steep grades and existing features like inlets or utility poles are the most difficult items to work around. These features usually require more money and approval to move so we try to avoid changing their location if possible. There are minimum and maximum grades associated with every aspect of the ramp and it can be difficult to design these areas to fit within the design standards, but also match with existing. Dual ramps at an intersection are preferred but they must stay within the legal crossing which can be difficult to maintain.